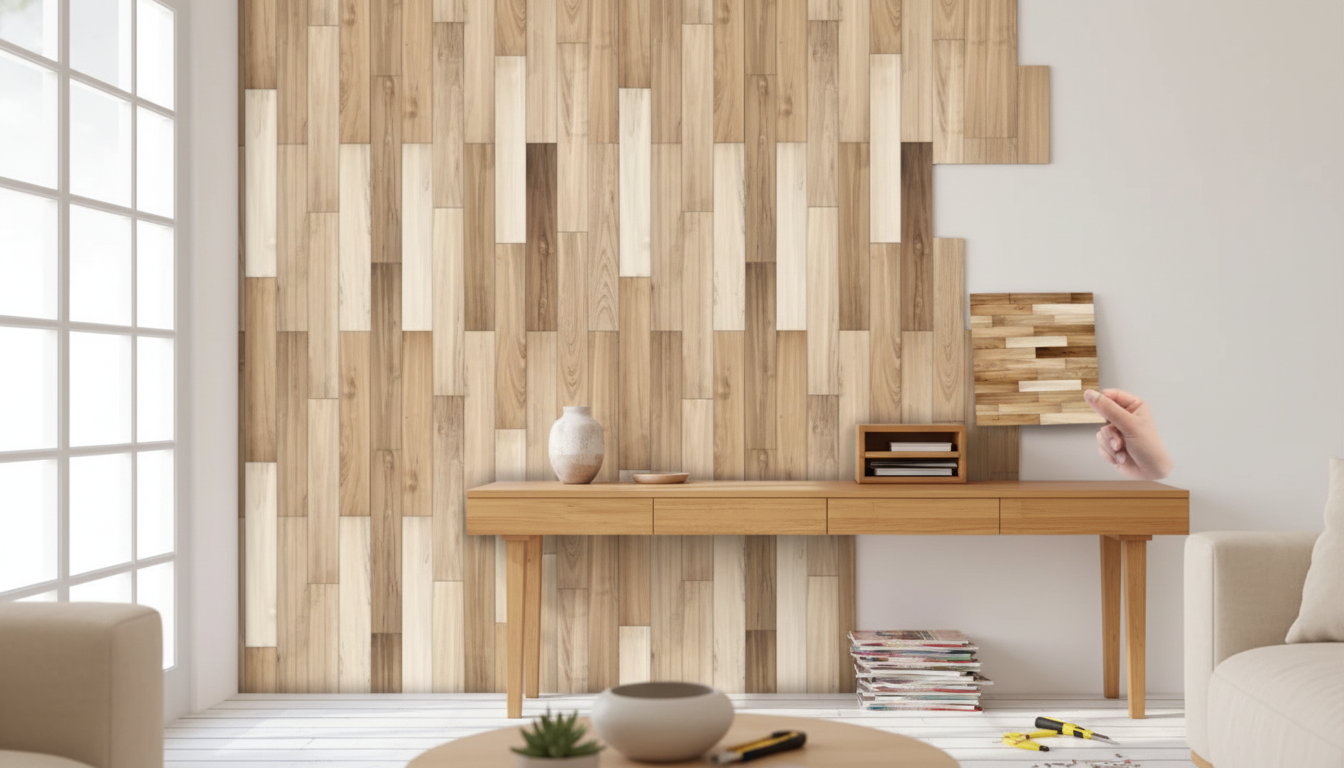
Wood-grain peel-and-stick wall stickers are a simple way to bring warmth and a vintage, tile-inspired rhythm into a space—without grout lines, demolition dust, or a multi-day install. The look is especially appealing for small upgrades: a coffee nook backsplash band, a quick entryway accent, or a renter-friendly refresh that can be reversed later. Below is a practical guide to where these stickers perform best, how to prep and apply them neatly, and what to do to keep edges crisp over time—plus a few styling ideas that lean into a retro tile vibe.
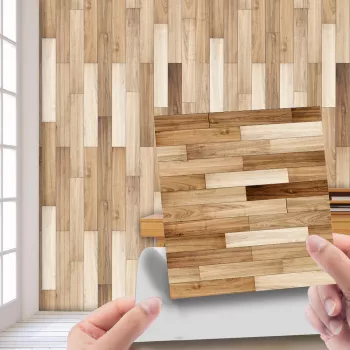
Imitation wood grain self-adhesive wall stickers are peel-and-stick panels designed to mimic the natural variation of wood while still reading visually like a repeating “tile” layout. Instead of a continuous plank-wall feel, the pattern can be aligned in a grid-like rhythm that echoes retro tile installations—think warm, textured surfaces with clean lines and a bit of nostalgia.
They’re commonly used as a surface refresh for backsplashes, accent strips, furniture panels, stair risers, and small feature walls. They’re also a smart workaround when real wood paneling or true tile would be too expensive, too permanent, or simply not practical for the timeframe and mess you want to avoid.
Before buying, focus on fit: the surface condition, the layout plan, and the environment (heat, moisture, and cleaning habits). Adhesives love clean, smooth, fully cured surfaces. Fresh paint may feel dry quickly, but it often needs more time to harden fully—rushing this step is a common cause of edge lift later.
Measure the full area and plan a straight reference line so the pattern reads cleanly, especially around outlets and inside corners. If the install will sit near a sink, kettle, or cooktop, set realistic expectations and plan to press edges firmly and keep them dry; high-splash zones are where peel-and-stick products are tested the most.
| Project area | Surface type | Recommended prep | Notes |
|---|---|---|---|
| Kitchen backsplash (low splash) | Painted drywall / smooth panel | Degrease, dry fully, mark level line | Avoid direct flame/constant steam; protect edges near sink |
| Bathroom accent wall | Sealed wall, smooth tile | Clean with non-residue cleaner, dry | Choose zones away from constant water spray |
| Furniture refresh | Laminated surfaces | Clean, lightly scuff only if safe, wipe dust | Test adhesion on underside first |
| Rental upgrades | Painted wall | Patch/clean, allow paint cure time | Do a small test for removability |
These stickers tend to perform best on smooth, sealed surfaces: painted walls in good condition, sealed wood, laminate, glass, and many smooth tiles. The key is a stable surface—no chalky residue, flaking paint, or loose texture—so the adhesive can make full, even contact.
Avoid heavily textured walls, crumbling paint, dusty plaster, and surfaces exposed to constant heat or soaking water. Areas near stovetops, kettles, and shower interiors deserve extra caution: heat and moisture cycling can soften adhesives over time and encourage corner lift. If the surface regularly gets sprayed, steamed, or scrubbed, choose a different zone or treat the project as a shorter-term refresh.
A clean install is mostly about patience and alignment. Take the extra 20 minutes to prep and plan; it pays off in straighter seams and fewer bubbles.
Wash with a degreasing cleaner so you’re not trapping cooking oils or hand grime under the edges. If your cleaner leaves residue, wipe with clean water afterward, then let everything dry completely. Even small amounts of moisture can weaken adhesion at corners.
Mark a level line (or place a long strip of painter’s tape as a guide) so the first row starts perfectly straight. Dry-fit a few pieces to preview how seams will land around outlets, trim, and corners.
For removal, warm the sticker slightly and peel at a low angle rather than pulling straight out. This reduces stress on paint. If residue remains, use a mild adhesive remover after testing in an inconspicuous spot. Helpful general guidance for sticky residue can be found from This Old House and 3M.
It depends on paint quality, how long the paint has cured, and the wall’s condition. For best results, warm the sticker slightly, peel slowly at a low angle, and test a small area first—especially on flat or matte paint finishes.
They can work well in low-splash, well-ventilated areas on smooth surfaces. Avoid direct heat, shower interiors, and zones with constant moisture; press edges firmly and wipe water splashes quickly to reduce lifting.
Use a level guideline, peel the backing gradually, and smooth from the center outward with a squeegee. Don’t fully press until alignment looks right, and use a sharp blade for clean cuts around outlets and trim.






Leave a comment