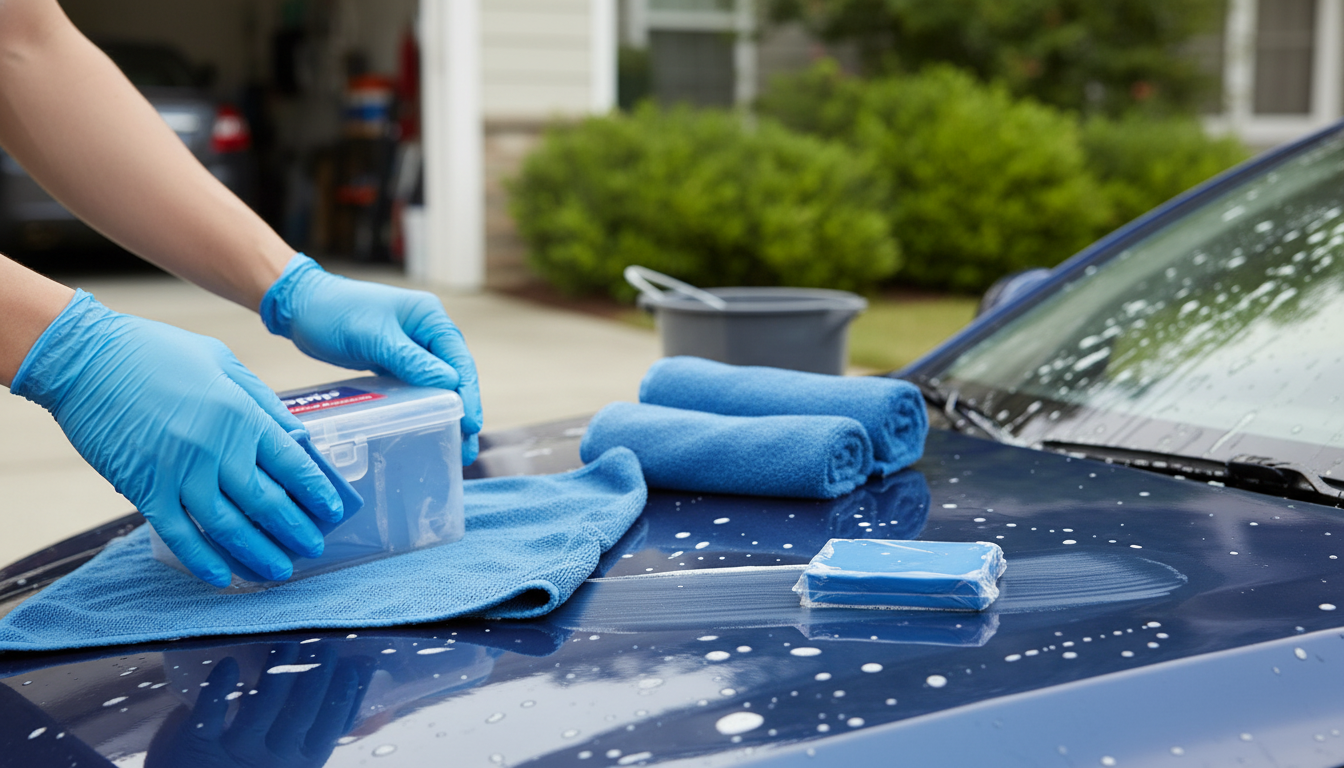
A clay bar is designed to lift bonded surface contaminants that regular washing leaves behind, helping paint and glass feel smooth and look clearer. Used correctly, it’s one of the fastest ways to restore that “just detailed” slickness before waxing, sealing, or using a ceramic spray. Below is a practical guide to what claying does, when it’s worth doing, and how to work safely with a larger format option like the 500g Car Wash Clay Bar. For more guidance, see Clay bar reviews – CEG Archives – Contour.org.
Even after a careful wash, a vehicle’s exterior can still hold onto contamination that’s physically bonded to the surface. A clay bar is made to shear off and lift those particles so the panel becomes uniform again. For further reading, see How Is Using a Clay Bar Different Than Using Meguiar’s Scratch-X?.
Claying isn’t something most vehicles need weekly. Instead, treat it like a periodic decontamination step—especially when the paint stops feeling slick.
Safe claying is all about preparation, lubrication, and light pressure. The goal is to let the clay glide and gently grab contamination—never to “scrub” the paint clean.
Use a pH-neutral car shampoo and rinse well. Claying over leftover grit increases the odds of micro-marring.
Choose a shaded spot with cool panels. Heat can make the clay feel tacky and can cause lubricant to flash off too quickly.
Use a dedicated clay lubricant or a slick rinseless/wash solution mixed per its label. Keep the surface visibly wet; never clay dry.
Knead the clay, then flatten it into a palm-sized pad that’s thick enough to hold. A stable pad glides more evenly and is easier to fold to a clean face.
Move the clay in straight passes (not circles). Start with minimal pressure. As contamination releases, you’ll feel the clay begin to move more freely and quietly.
Inspect the clay frequently. When it looks dirty, fold and knead it to expose a clean surface. This is crucial for preventing haze.
A dropped clay bar can pick up sharp debris. Reusing it risks grinding that debris into the paint.
After each section, wipe residue with a clean microfiber towel. Once the vehicle is fully clayed, apply a wax, sealant, or ceramic spray to lock in the smoothness.
| Step | Goal | Watch-outs |
|---|---|---|
| Pre-wash | Remove loose dirt | Skipping this increases marring risk |
| Lubricate heavily | Create a slick barrier | If it starts to drag, add more lube |
| Light passes | Lift bonded contaminants | Do not scrub; let the clay do the work |
| Fold frequently | Keep a clean surface | Dirty clay can haze the finish |
| Protect afterward | Seal freshly cleaned paint | Bare paint re-contaminates faster |
Two things matter most once your technique is solid: slick lubrication and soft, clean towels.
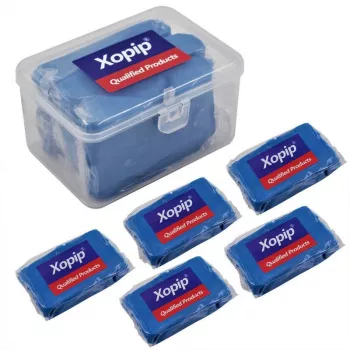
If you’re ready to add this step to your routine, the 500g Car Wash Clay Bar is a straightforward option to keep on hand for repeat sessions.
No. A clay bar removes bonded contaminants sitting on or stuck to the surface, but scratches and swirls are defects in the paint that require polishing or paint correction.
A dedicated clay lubricant is best, but a properly diluted rinseless wash solution (or a very slick car shampoo mix) can work in a pinch. Use heavy lubrication and avoid household cleaners that can be too harsh or leave residue.
Yes—glass clays very well with plenty of lubricant, and it can help remove bonded grime for clearer visibility. Use a gentle technique on headlights and be cautious around delicate plastics, films, or coatings; wipe residue thoroughly when finished.






Leave a comment